

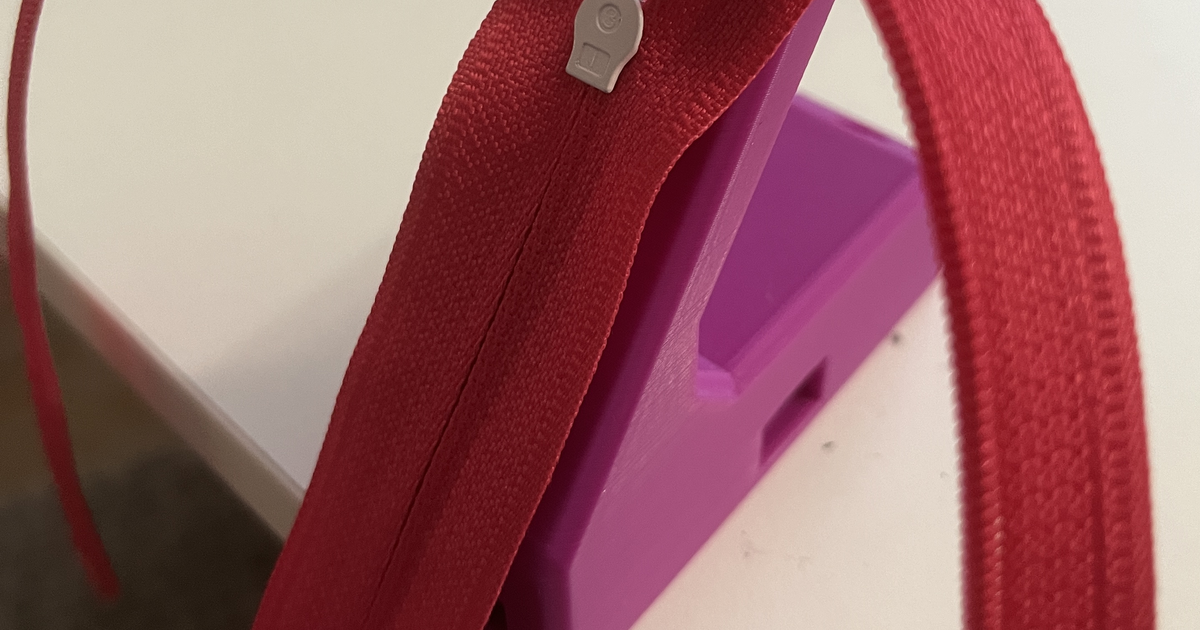
The A remix of the Zipper Slider Jig with clamping improvement is the kind of repair helper that makes a fiddly job feel realistic again. Replacing zipper sliders on jackets, bags, pouches, and outdoor gear often fails for a boring reason: the zipper tape twists, the slider wants a third hand, and the whole repair gets abandoned before the new part is fully started. This jig attacks that exact workflow problem.
Instead of being just another tiny bench accessory, this design adds clamp-friendly mounting holes so the jig can be fixed from the sides, front, or back while you feed the zipper into place. That matters because zipper repairs are less about brute force than about alignment, patience, and not losing your place while the fabric fights you.
What problem this zipper slider jig solves
Many people can find replacement sliders. Far fewer enjoy installing them. The hard part is usually keeping both sides of the zipper positioned evenly while starting the new slider without bunching the tape or skewing the teeth. If the workpiece moves, the repair slows down fast.
- it gives the zipper a more stable starting position during slider installation
- it lets you use ordinary clamps to hold the jig on a bench instead of balancing it by hand
- it reduces the awkward hand-juggling that makes zipper repairs feel harder than they need to be
- it creates a clearer repair path for jackets, bags, pouches, and other sewn items worth saving
Why this design stands out
The clamping improvement is the real story here. Plenty of repair tools work in theory but become annoying once fabric starts shifting around. By adding multiple clamp positions, this remix turns a zipper-slider starter into something closer to a repeatable small repair station. That makes it easier for a hobbyist, maker space, tailoring bench, or household fixer to get a cleaner first attempt.
The public adoption signals are also solid for a focused repair helper: roughly 250 likes, about 4,165 downloads, around 7,375 views, 187 public collections, and a small but positive review trail on Printables. That is enough proof that this is not a one-off novelty upload.
Who this helps most
- people repairing jackets, backpacks, duffels, and pouches instead of replacing them
- makers who already buy replacement zipper sliders but want the install step to be less frustrating
- small repair shops or sewing setups that need a lightweight helper rather than a full specialty machine
- anyone who wants a low-cost way to make zipper repair more repeatable
When outsourced printing makes sense
This is a good candidate for a print service because the value is in the shape and workflow, not in owning a printer for its own sake. If you repair gear occasionally, sending the file out can make more sense than buying equipment just to produce one jig. PETG or another durable material is a sensible starting point if you expect repeated clamp pressure and regular shop use.
If you want this file made for you, use the Get this printed link at the top of this page.
What to check before you use it
- confirm the replacement slider you plan to install matches the zipper size and tooth style
- test your clamp setup so the jig stays steady without crushing fabric
- practice feeding a spare zipper first if the actual item is valuable or hard to replace
- remember that a damaged zipper tape or missing teeth may still need a bigger repair than a new slider alone
Editorial take
This is exactly the kind of useful file GoodPrints readers tend to reward: a simple object that removes friction from a real repair job. It does not try to be flashy. It makes a common clothing-and-gear fix easier to start, easier to control, and more likely to get finished.